Gravel Hardscaping: A Complete Guide for Homeowners
Master gravel hardscaping with our guide—pick the best type, install it yourself, and maintain for stunning paths and driveways.
.png)
- Introduction
- Types of Gravel for Hardscaping
- Preparation and DIY Gravel Installation
- Maintenance and Care
- Design Ideas and Inspiration
- Conclusion
Hardscaping refers to the solid, non-living elements of landscape design, such as paths, walls, walkways and patios. These features provide structure and function to outdoor settings while complimenting the softer characteristics of plants and trees. Gravel stands out among the many hardscaping materials available. Due to its versatility, low cost, ease of installation, range of sizes and colors, it's a popular choice among homeowners.

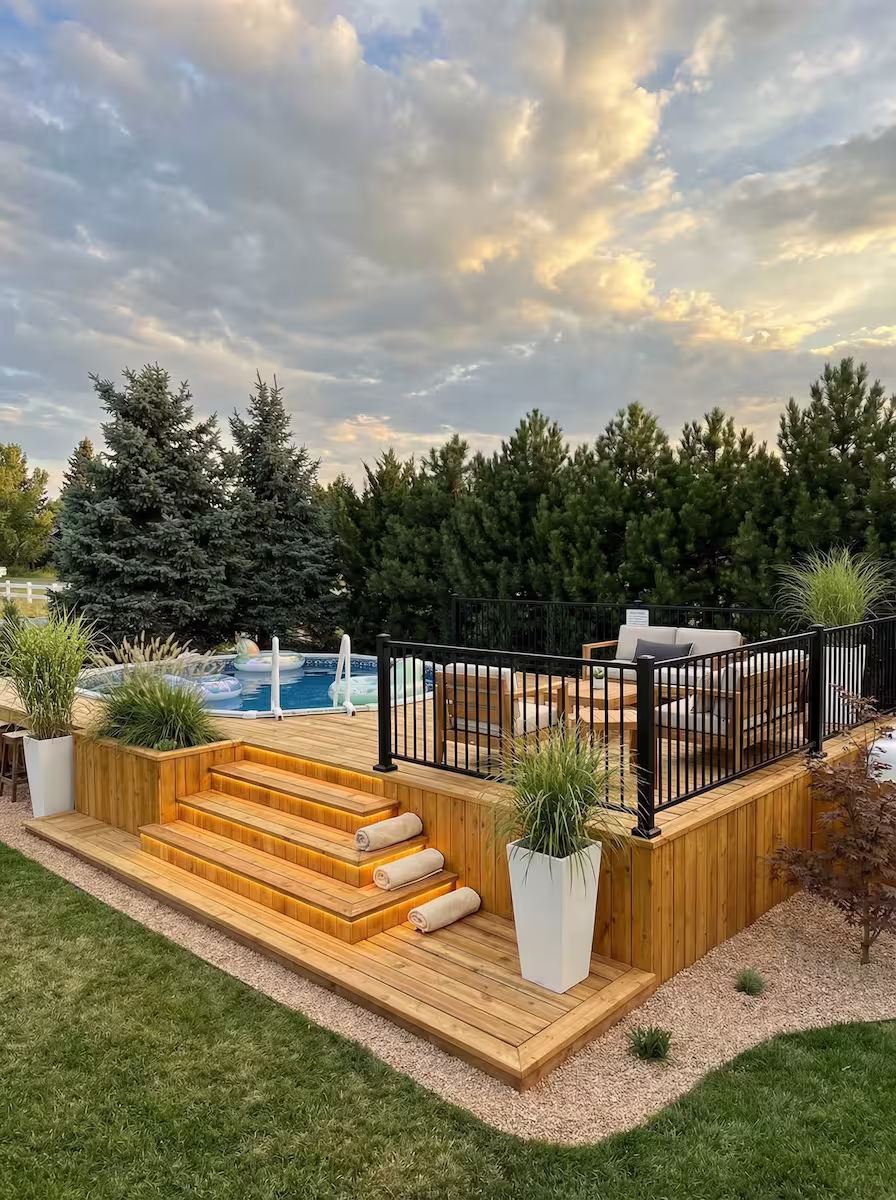
Gravel hardscaping includes using loose gravel stones to design the outdoor landscapes in your home. It can be combined with other hardscaping elements like pavers, stepping stones, or edging materials to create more structured or defined spaces. Gravel hardscaping not only makes your space look attractive but also helps control soil erosion and cover the barren spots in your lawns.So, whether you want a rustic garden path, a sleek, modern driveway, or an effective drainage system, gravel has you covered. This blog post will go over the benefits and considerations of using gravel, as well as how to choose, install, and maintain your gravel hardscaping so that it improves the appearance and functioning of your lovely home.
Types of Gravel for Hardscaping:
There are many different types of gravel, and discovering them can be like unearthing a treasure trove.
- Pea Gravel:
To put it simply, pea gravel is as comfortable as stepping barefoot on a smooth, warm path. These little stones sizing between ¼’’ and ⅜’’ in diameter, resemble garden peas and come in a variety of colors like gray, tan, brown and white. They are ideal for constructing attractive walkways, charming patios, and delightful play areas.
Pros:
- Suitable for places with barefoot traffic.
- Varying colors match any landscape design and add visual attractiveness.
Cons:
- Due to its spherical form, it may shift underfoot or when driven over
- Not suitable for high-traffic areas without a binding agent.

- Quarry Process:
Quarry process, often known as 'crusher run,' is the unsung hero of gravel kinds. It is a mixture of stone dust and small crushed stones ranging from fine dust up to around 3/4" in size. These, typically gray gravels, compact over time to form a firm, solid surface, making it perfect for creating stable walkways and driveways.
Pros:
- Provides a robust, firm surface that can bear large loads.
- Fine stone dust fills gaps and creates a smooth, unified pathway.
Cons:
- Stone dust may wash away before fully settling, making it messy at first.
- Top-up may be necessary as the surface settles and compacts.

- River Rock:
River rock adds a touch of nature's beauty to your garden by bringing smooth, rounded stones from riverbeds. Their greater size( ranging between 1 to 4 inches) and polished look make them ideal for accenting garden beds, ponds, and decorative edging.
Pros:
- Requires less maintenance and is long-lasting.
- Provides a natural, organic look that complements water features.
Cons:
- Unstable on walks because of their size and smoothness.
- Higher cost due to aesthetic appeal and shipping weight.

- Decomposed granite:
If you want a route that has the sensation of a stroll through the woods, decomposed granite is an excellent choice since it has a thin, sandy texture that compacts well, resulting in a surface that is stable while still appearing natural. It is especially popular in drought-resistant environments.
Pros:
- Natural, rustic appearance that complements outdoor settings.
- Good compaction properties for a sturdy yet permeable walkway.
Cons:
- Erodible in heavy rain, necessitating occasional replenishment.

Preparation and DIY Gravel Installation:
Let's get to work on making your gravel hardscaping idea a reality. Preparing and installing gravel may appear difficult, but with the proper processes, it's like putting together a puzzle: gratifying and enjoyable!
Step 1: Create a plan and designFirst things first: be creative! Sketch out your desired area, taking into account the flow of your space, how it is used, and the overall atmosphere you want to create. This plan will serve as your road map, leading you through each stage and ensuring that every shovel of gravel serves its purpose.
Step 2: Gather essential tools
Put your hand on collecting the given tools to kick start your hardscaping:
- Gravel
- Edging material
- Shovel
- Rake
- Landscape Fabric/Cloth
- Tamper
Step 3: Select your gravel type
Choose the gravel type that best meets the aesthetic and functional objectives of your project. Remember that it is not only about appearance; consider how the area will be used and the type of foot-traffic it will receive.
Step 4: Measure and calculate area
Now measure your project area to calculate how much gravel you'll need. As a general rule, gravel depths should be between 2 and 3 inches for walkways and patios, and 4 inches for driveways. A simple online gravel calculator can also be your best friend in this situation, so that you can purchase the appropriate amount without going overboard.
Step 5: Prepare the site and edge it up
Once you’re done with measuring the project area, clear it by removing any existing plants and debris,and loosen the soil with a shovel. Then level out the soil with the help of a rake for a smooth surface and avoid uneven gravel settling.Install an edging around the specific area you want to beautify with gravel. Edging usually ranges from metal or plastic to real stone or brick. It keeps your gravel controlled, crisp, and clean, keeping it from spreading into your lawn or flower beds.
Step 6: Lay the foundation
This is when the hard work begins, but it is so worth it. Excavate the space to your desired depth, taking into account the thickness of the gravel layer. For areas with high traffic, consider adding a compacted base layer of quarry process or crushed stone before the gravel to improve stability and drainage.At this time, you can also lay down a landscape fabric over the soil to use as a secret weapon to control the weed growth.
Step 7: Grade and compact
Basically, it's like preparing a solid platform before laying the gravel. Just make sure the area has a small slope so water cannot collect and ruin the base. A 1% grade is a good rule of thumb. Now compact the base layer with a tamper or plate compactor to ensure the foundation is even and tact.
Step 8: Bring in the gravel
It's showtime! Spread the gravel evenly across the prepared area, aiming for the calculated depth. You can rake the gravel out for a uniform distribution all over the selected area. Then, compact it with the help of the tamper and move back and forth over the area until gravel evenly settles in.
Now if you see any barren spot, lay over the gravel and compact it again with the help of tamper. This stage increases its solidity, preparing it to handle foot or car traffic like a champion.
Then stand back and appreciate your job because you have successfully installed your own gravel hardscape.
Maintenance and Care:
Gravel may be low-maintenance, but a little care goes a long way toward keeping your hardscape looking great. After laying the perfect gravel groundwork, follow these simple maintenance instructions to keep it clean and effective.
- Weed Prevention:
Uninvited guests like weeds might be a pain, but fear not! Regular applications of a pre-emergent weed killer in early spring can considerably limit their appearance. For a more environmentally friendly option, spread landscaping fabric underneath the gravel to function as a barrier, inhibiting weeds from joining the party.
- Raking:
Gravel has a tendency to stray, especially in high-traffic areas. Rake it over on a regular basis to keep it looking nice and avoid ruts and dips from forming. Think of it like grooming your gravel to make it smooth and attractive.
- Replenishing:
Gravel may clump, scatter, or lose its original brilliance over time. Sprucing up your space with a fresh top coating every couple of years can restore the 'just-installed' appearance. It's like giving your gravel a tiny facelift, improving both beauty and functionality.
- Spot Cleaning:
Accidents happen, but they don't have to leave a permanent impression. A little dish soap and a stiff brush may work wonders on tough stains like oil. Consider replacing the impacted gravel in more tenacious areas as a simple remedy to keep your area's overall appeal.
Design Ideas and Inspiration:
Now that your gravel hardscape has been properly maintained, let's get creative. Because of its adaptability, gravel provides limitless opportunities for designers to elevate outdoor living spaces, like:
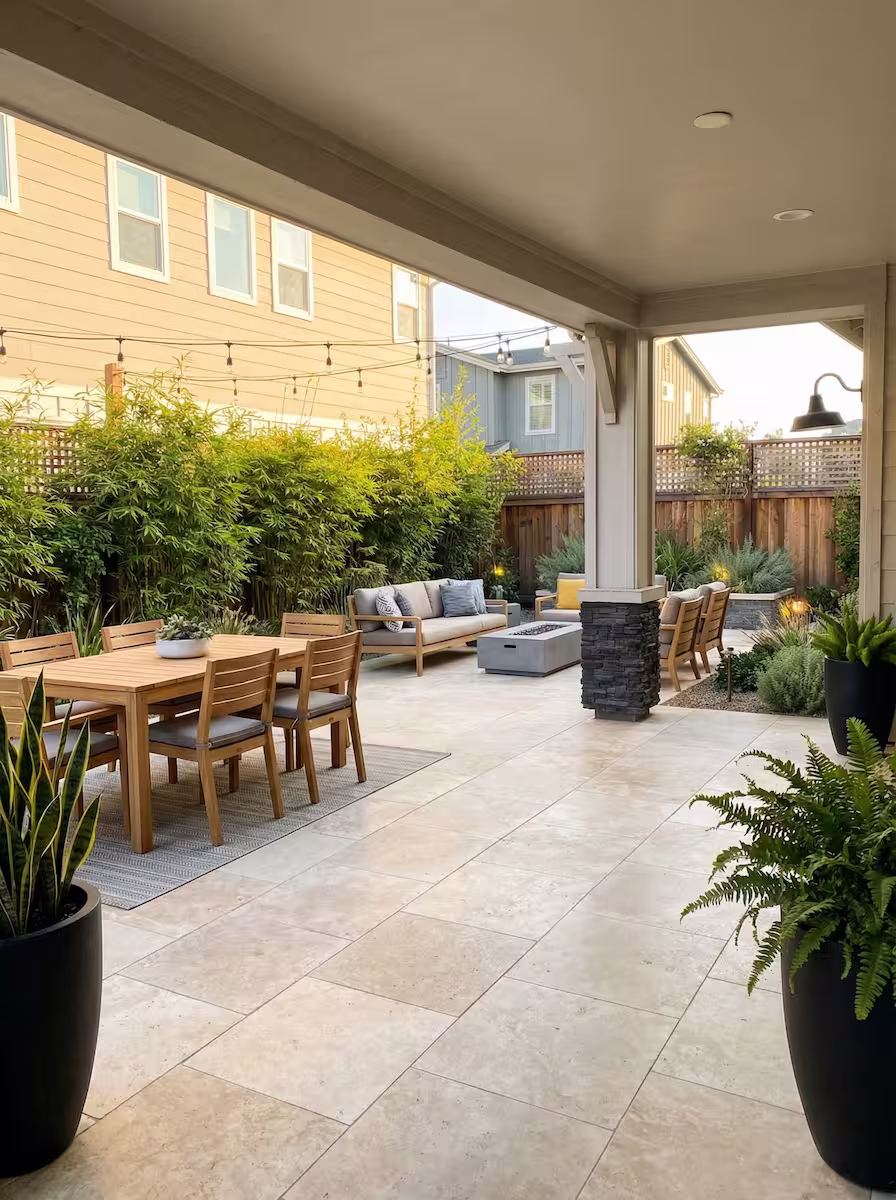
Gravel and pavers:
Combine gravel and paving stones to create a visually appealing contrast. This combination can define spaces, direct foot-traffic, and modernize traditional landscaping.

Zen Garden:
Gravel can help to create a sense of calm in a Zen garden design. Rake gravel into soothing patterns around strategically placed rocks to create a tranquil hideaway that encourages introspection and relaxation.

Color Play:
Experiment with different gravel colors to give depth and interest to your space. A combination of warm and cold tones can be used to define spaces, highlight details, or create fun patterns.

Lighting:
Strategically placed outdoor lighting can transform your gravel hardscaping into a spectacular evening scene. Illuminate paths for safety and beauty, or highlight specific spots for dramatic impact, allowing your gravel sections to truly glow.

Gravel is a versatile and valued option for homeowners, from its ease of installation and upkeep to its creative design potential. As we have discussed the numerous ways in which gravel may be included into your landscape, ranging from the strength of a driveway to the tranquil beauty of a Zen garden, the most important thing to take away from this article is that gravel provides a wonderful combination of simplicity, durability, and aesthetics.
Whether you're a DIYer or plan to work with a landscape professional, gravel hardscaping is a great option for your next outdoor project.
So, why not let gravel pave the way for your next outdoor project? With a little design, imagination, and care, your gravel hardscape may become a focal point of your home's appeal, drawing both family and friends into your own outdoor haven. Go ahead and create your imprint, one pebble at a time!
Related Articles


Ready to co-design your outdoor space?
Start now—secure checkout, no hidden fees. Prefer to talk first? We’re happy to meet you.